Wednesday, March 16, 2022

Deconstructing/Reconstructing Caliente's Big Fat Greek Mediterranean Pizza

Caliente Pizza and Draft House is our favorite pizza joint here in Pittsburgh. And our favorite style is their Big Fat Greek Wedding pizza that used to be called their Mediterranean pizza. Either way it is amazing. It is a "white" pizza with a mix of interesting toppings - garlic butter sauce, artichoke hearts, agrodolce tear drop peppers, kalamata olives, baby spinach and feta, provolone and mozzarella cheeses all on top of their secret recipe long rise dough. 

Since we love this pizza we thought we'd try to make it at home ourselves because why not? All the toppings are easily available except one - the agrodolce (sweet & sour) tear drop peppers and their taste is very important to the overall flavor of this pie. Luckily they have them at a local super market otherwise we would have had to look for them on line.

Here is what they look like - 


We made a few changes/tweeks that we felt could make this even better - 
1 - We added crisped up thin sliced hot soppressata, an Italian hard sausage. If you cant find this where you live, don't substitute with pepperoni, just leave it out. It has it's own unique flavor.
2 - We used arugula instead of spinach because we had some arugula that needed to be used up. No other reason.
3 - Their crust simply can't be duplicated so we used a premade Boboli crust. But next time we'll make our own and give the dough a good slow long rise.

Feta cheese crumbles - 


Sauteed and caramelized artichoke hearts -


Handful of Kalamata olives sliced in  half -

Crisped up pieces of soppresotta

Boboli crust but home made would be better -

Roasted a head of garlic the day before and squeezed out the soft sweet cloves with butter, salt and a little olive oil to make the garlic butter -

Brush the roasted garlic butter over the crust -

Add the artichoke hearts first -


Then the arugula and the feta cheese -

Then the olives and the soppresatta -


Then the mini sweet and sour pepper drops -


Mozzarella and Provolone cheeses loaded and ready for the oven -


Baked in a 450 degree oven for 12 minutes.


Tuesday, February 1, 2022

Preserved Lemons


Preserved lemons...? Aren't they those funky lemons used in North African and Middle East cooking? Yep, that's them. And that's probably as much as the average home kitchen hack knows about them. So, maybe when you've read about a cool sounding exotic dish you want to try and the recipe called for preserved lemons as an ingredient you either just logged it away for another time or just substituted lemon zest or lemon juice - which really aren't good substitutes. The good news is though, preserved lemons are easy and quick to make at home, last practically forever, and will enhance your dishes like nothing you’ve ever tasted. The downside is that you will have to wait about a month for them to cure. But if you’re willing to take a few minutes of your time to make a couple jars, you’ll be able to reap a lemony harvest throughout the rest of the year. In January I started curing a jar of preserved lemons. I'm glad I did!

Here's the deal - preserved lemons are lemons that have been pickled in salt and their own juices and left to sit for a month before using - they get even better over time. Think about how much you love things flavored with lemon. Preserved lemons add an intense, concentrated lemon flavor to the dish without all the sour tartness. The preserving process tempers the tartness while accentuating the lemon flavor. Mildly tart but intensely lemony. They will transform your dish from something good into something amazing. 

Preserved lemons can be used to add flavor to a variety of dishes – everything from meats and poultry to salads, rice, stews, seafoods and sauces. Your imagination is the limit to how they can be used and enjoyed. 
                                                   
Here are a few ideas: 
       
Salad Dressings - Blend some preserved lemon into it and that dressing will love you forever. 
Seafood - Seafood and lemons are soul mates. Make a marinade for your fish with some finely diced or blended preserved lemon or add it to a sauce to drizzle over fish. 
Vegetables - Tossed with vegetables or add tiny bits of preserved lemon to a vinaigrette.  
Rice - How about a preserved lemon risotto or pilaf?  
Pasta - Buttery pasta tossed with a creamy preserved lemon sauce?  
Dips - Try adding some preserved lemon to hummus next time or to baba ganoush. 
Salsas - Next time you make mango/pineapple/however-you-make-it salsa, add some diced preserved lemon to it.  

Here's how to make them - 
     
Ingredients
                                                            
3 large lemons (Meyer is even better) per 8 oz canning jar
5-6 teaspoons salt
An extra lemon for juicing
Water that has been boiled and cooled (sterile)

Instructions
                    
You can make as many preserved lemons you like, but roughly 3 will fit per 8 oz canning jar. Thoroughly clean/scrub the lemons. You can let them sit in some vinegar water for a few minutes, then rinse - this should help remove the waxy coating.

Trim the nubs off both ends of each lemon. Quarter each lemon, slicing them down just over ¾ of the way to leave the slices attached at the end.

Put one teaspoon of salt into the cavity of each lemon.

Place one teaspoon salt into the bottom of the jar. Put a lemon in the jar, cut-side down, pressing firmly to squeeze out the lemon juice. Put a teaspoon of salt on top of the lemon. Firmly press the second lemon down on top of the first lemon. Repeat with the third lemon, pressing down firmly. Add a teaspoon of salt on top of the lemon.

The jar should be halfway full with lemon juice. If needed, squeeze some additional lemon juice into the jar to bring it to the halfway point. Don't waste that lemon; slice it and stuff the slices into the jar. 

Pour the boiled/cooled water into the jar to fill it to the top.

Screw the lid on and let it sit at room temperature for 3 days, shaking it and rotating the jar upside-down/right-side up a few times per day. 

After 3 days transfer the jars to the refrigerator and let them sit for at least 3 weeks before using. Store in the fridge, will keep for at least 6 months.

When using them, take out what you need and rinse with cold water, using just the rind, cut into strips or dice and add as the recipe requires and if you are a "lemonhead" like me, experiment with them. The first thing I used them in was a rice side dish. I added sauteed sweet onions and a some diced preserved lemon to plain basmati rice. Pow!

Sunday, December 26, 2021

Eggnog and Whiskey French Toast

There's nothing complicated about making French Toast despite what you see here with Dustin Hoffman in the movie Kramer vs Kramer. He's, understandably, just a little bit rattled -


But if you aren't rattled it's a cinch.  It's just bread dipped in a slurry of eggs and milk then pan cooked in a little oil or butter and sprinkled with cinnamon or powdered sugar or a drizzle of maple syrup or topped with fresh fruit. That's it, just watch over things and don't get distracted. I love French toast. The other day on the way to work I was listening to a talk radio show. The subject was comfort food. This guy called in and said one of his favorite comfort foods is French toast. He then proceeds to tell us about making it with eggnog instead of milk. That caught my attention. I thought - damn that sounds pretty good! So this past weekend I decided to try to make it. This time of year eggnog is readily available in grocery stores so that part was easy. Personally I like rye whiskey so that's what I used. This really makes a very tasty French toast on it's own with just butter but it would be great with a little spread of peach preserves.

Here's what you need for  6  pieces of French toast (increase in this proportion for more) -
6 Thick slices of crusty country bread
2 - 3 large Eggs
1/2 cup Eggnog
1/4 cup Rye Whiskey or Bourbon or Rum - your choice
1 Tablespoon+ canola oil
Butter

The basic ingredients - 

Eggs, eggnog, whiskey - 

Eggs, eggnog, whiskey whisked together - 

Make it a nice good soak so the flavors get into the bread

With peach preserves!

ENJOY!

Friday, December 17, 2021

Shrimp Stuffed Poblano Peppers


I traded some end of season figs from our fig tree to a friend at work for some end of season peppers he grew. Some of the peppers were poblanos. We wanted to do something different and possibly exciting with them. Well, exciting as far as poblano peppers go. They do have a flavor we enjoy but can be quirky by by sometimes tasting as mild as a bell pepper and other times having a nice punchy unexpected heat. So, we gave it some thought and poblanos really cry out to be stuffed but stuffed with what? Cheese? Good but too typical. Beef? Maybe. Chicken? Possibly, but with what else. Some kind of seafood? Hmmmm, yes but what? Crab, shrimp? Yes, shrimp but with what else? What seasonings? Lisa looked at a number of shrimp stuffed pepper recipes on line and we came up with few we could work with for poblanos. 
The result was amazing.

Ingredients for two people -

 4 poblano peppers, roasted and peeled

 1 red bell pepper, roasted, peeled, and chopped

 2 Tbsp + 1 tsp olive oil, divided

 1 Tbsp butter

 ½ sweet onion, diced

 4 cloves garlic, minced

 1 lb medium shrimp, peeled and deveined

 1 Tbsp ground cumin

 1 tsp salt

 freshly ground pepper

 ½ lime, juiced

 1 Tbsp all-purpose flour

 ½ cup sour cream

 ½ cup whole milk

 1 cup shredded 5-cheese Mexican blend

 To roast the peppers:

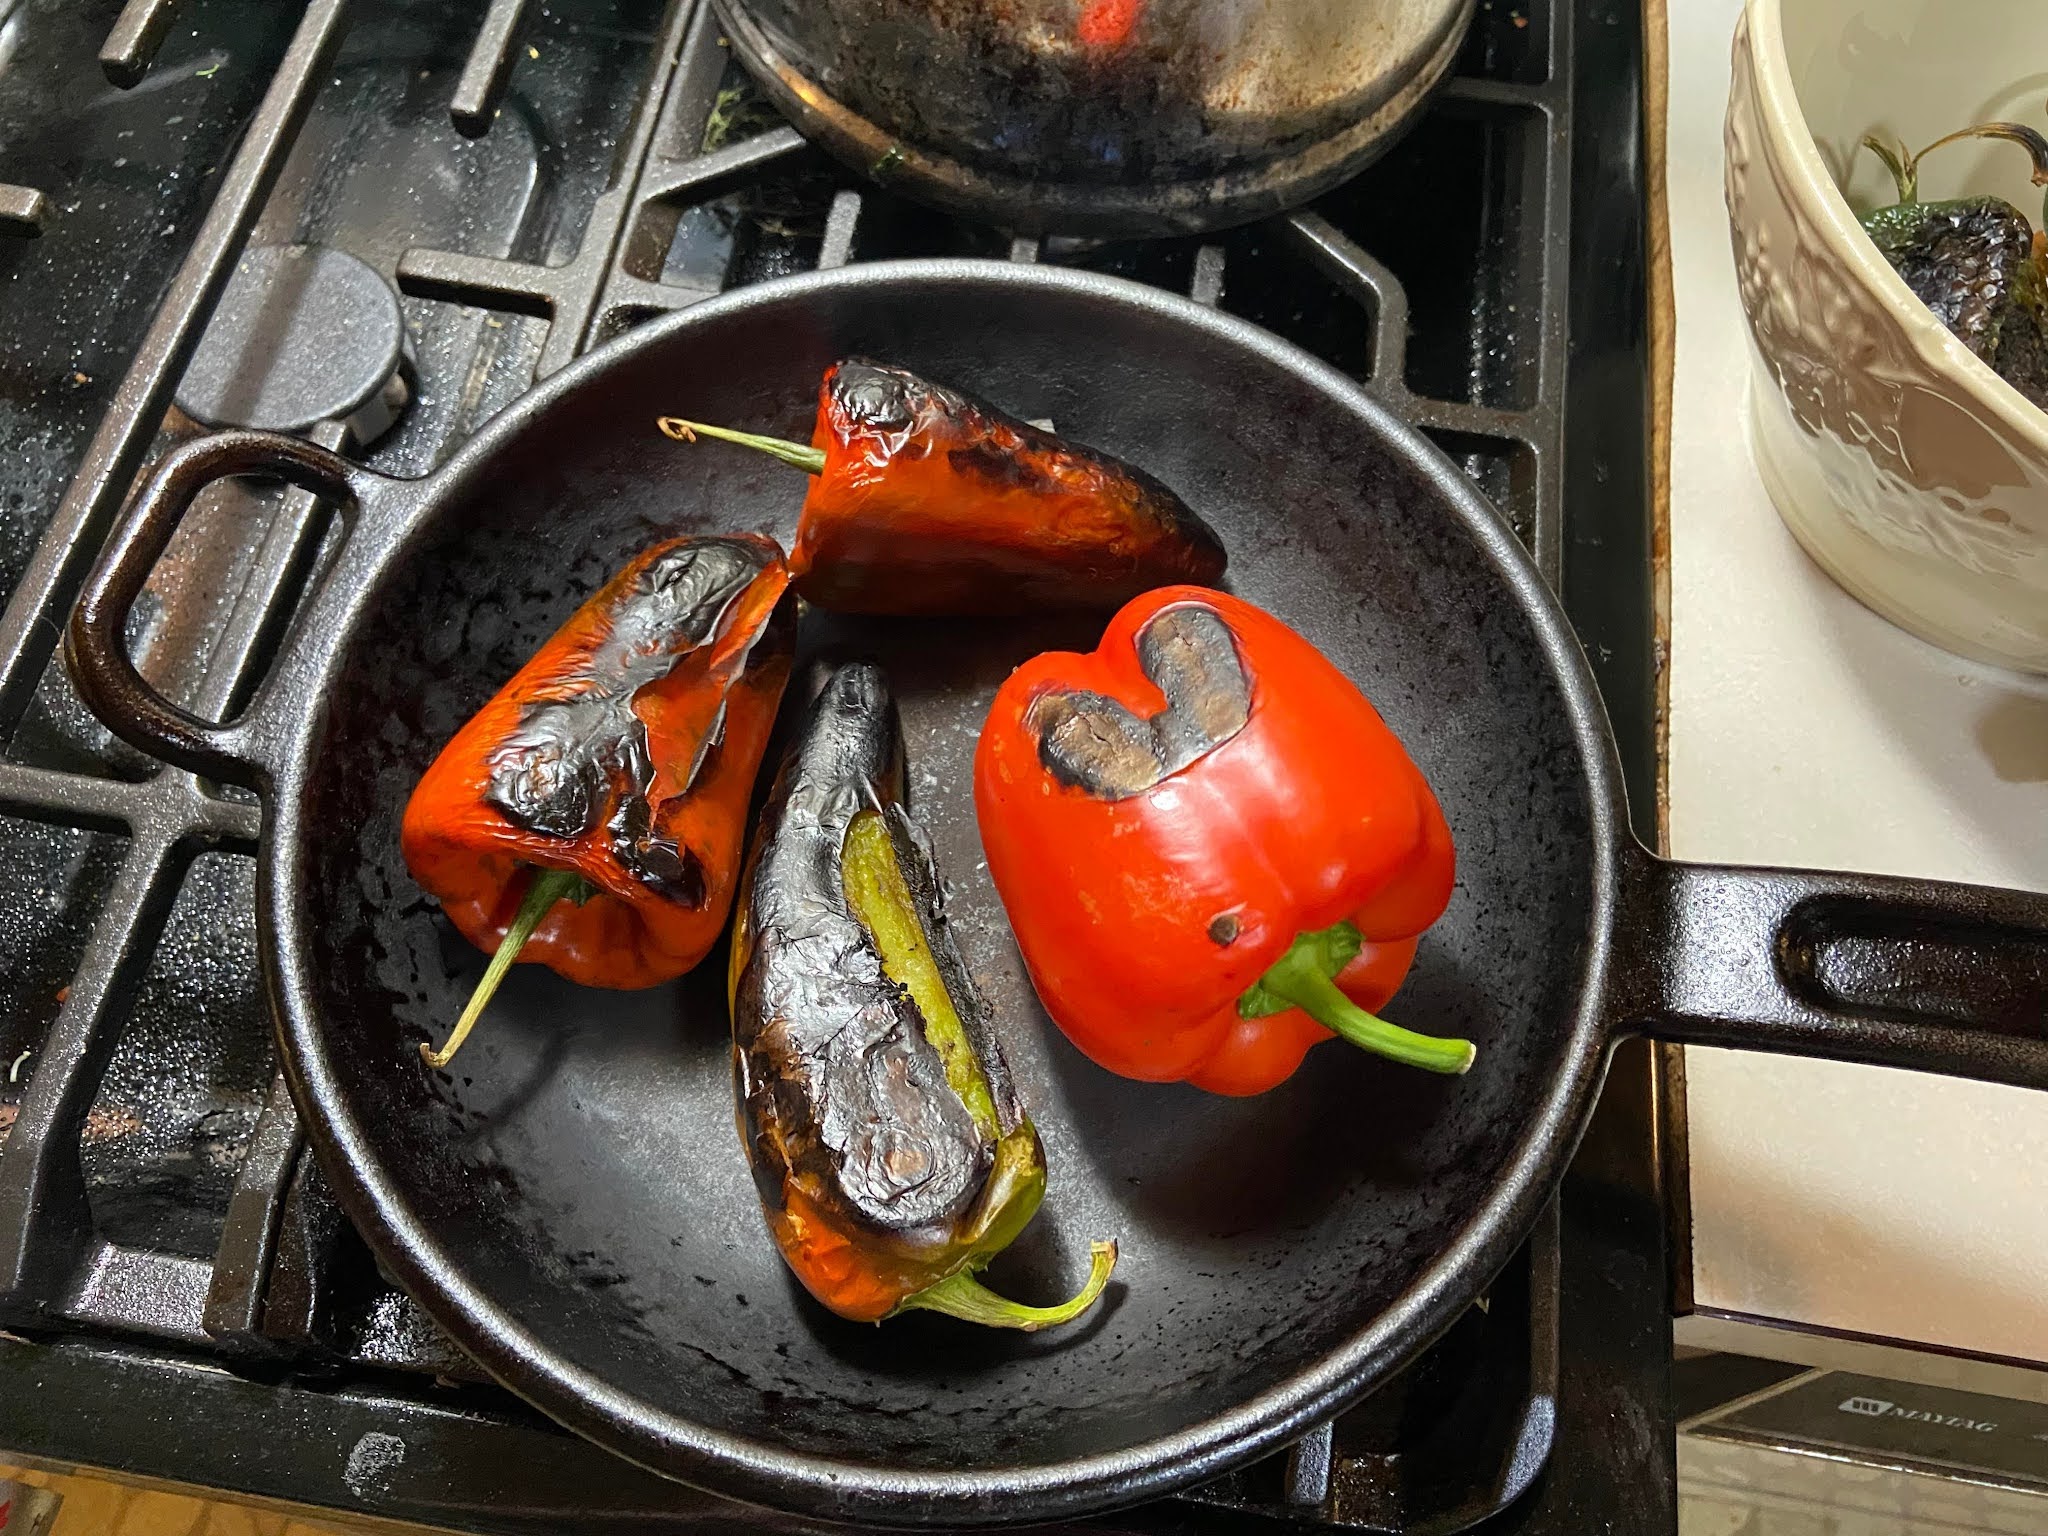
There are a number of way to roast and peppers. The best way is to roast them on the grill or under the broiler in the oven. But we chose to do them in a cast iron skillet. Remove from the skillet and immediately place in a bowl and cover with plastic wrap. Allow them to cool and rub the skins off. Chop the red bell pepper and slit the poblano peppers on one side, leaving the stems intact. (You can remove the seeds at this point if you want your poblanos a little less spicy.)


To make the filling: 

Preheat the oven to 350℉.

Heat 2 tablespoons of the olive oil in a large pan. Add the red bell pepper and onion. Cook until soft, about 3-5 minutes. Add the garlic and cook for 1 more minute, being careful not to burn the garlic. Remove the vegetables from the pan and set aside.

Next, sprinkle the salt, pepper, cumin, and lime juice on the shrimp. Melt the butter in the same pan that you used to cook the vegetables and add the shrimp. Cook until done, about 3-5 minutes.

Add the vegetables back to the pan and mix with the shrimp.

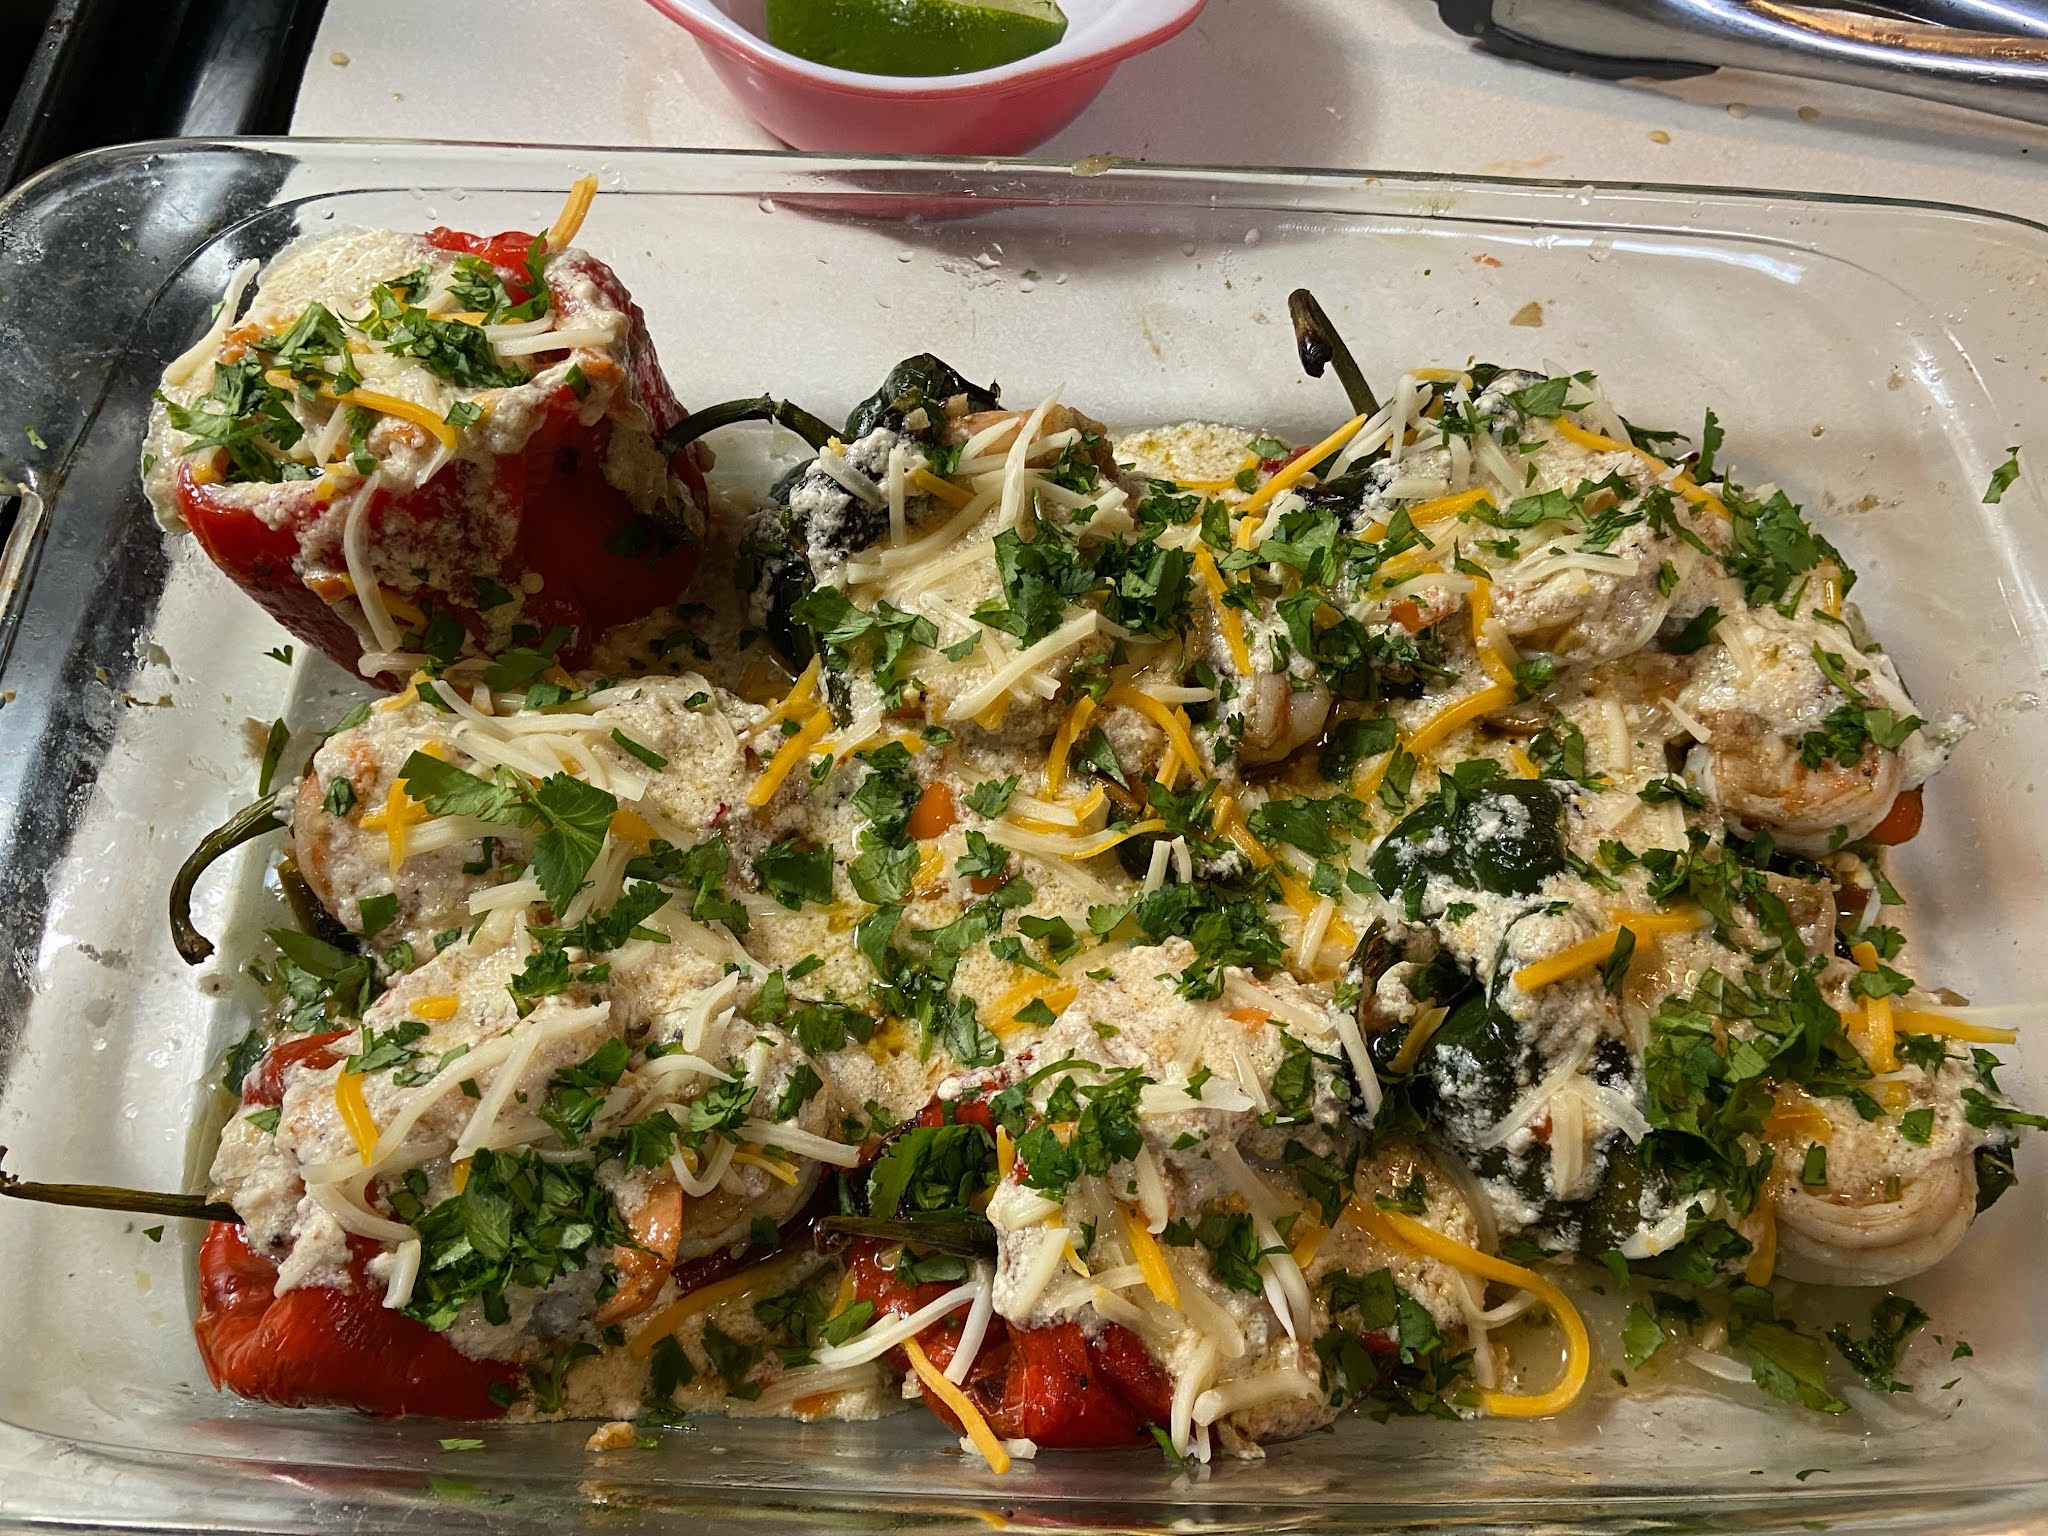
Place the poblanos in a medium baking pan and stuff with the vegetable-shrimp mixture.

To make the sauce:

Add the flour and the remaining olive oil to the pan (that originally had the vegetable-shrimp mixture) over medium heat and stir until the flour starts to thicken. Add the sour cream and the milk. Whisk until completely mixed without lumps. Cook until the mixture starts to simmer, but do not boil. Remove from heat and add the cheese, stirring until smooth.

Pour the cheese mixture over the stuffed peppers and cook for 15 minutes or until bubbly and lightly browned.


Thursday, November 4, 2021

Pan Roasted Chicken With Balsamic and Figs

 
We have a bumper crop of late ripening figs this year on our fig tree. So, as a last hurrah we were looking for different ways to use them up besides making them all into fig preserves. Lisa found a recipe that combined chicken and figs together with flavor seasonings that sounded delicious, and it was. I know you will love it! Here is how she did it in our humble test kitchen - 

Ingredients 

5 or 6 bone-in, skin-on chicken thighs

Salt and pepper

2 tablespoons extra-virgin olive oil

2 tablespoons butter

2 shallots, peeled and finely sliced

4 cloves garlic, peeled and chopped

1 heaping tablespoon fresh thyme leaves off the stem

1 teaspoon red chili flakes

3 tablespoons balsamic vinegar

½ cup chicken stock

¼ cup white wine

1 tablespoon Dijon mustard

1 tablespoon honey

6 to 7 fresh figs, halved

½ lemon, juiced

 Directions 

Preheat oven to 350˚F.

Prep the shallots, garlic and thyme and season the chicken generously with salt and pepper -

Heat the olive oil in a large skillet over medium heat. Add the chicken skin side down and brown on both sides, 5 min per side. Remove chicken from pan and set aside -


Hear the sizzle!


Add butter to skillet and then add the shallots season with salt and pepper and cook over medium stirring often until softened, about 5 min -
  
Add the garlic, thyme, and red chili flakes, stir for 5 minutes. Then stir in the balsamic vinegar, chicken stock, mustard and honey. Simmer for about 5 minutes - 

Chicken stock and white wine -


Place the chicken back into skillet along with the figs. Transfer to oven and cook for 30 minutes or until chicken is fully cooked through. You can broil for the last minute or so for more color on the chicken -

  
Remove from oven and squeeze the lemon over juice and serve with your favorite side. We chose jasmine rice topped with some of the sauce. 


Monday, October 4, 2021

Maple-Mustard Pork Tenderloin with a Cranberry-Port Relish

Sweet and slightly smoky maple syrup is an easy way to add full complex flavor to both sweet and savory dishes. Here it balances the spiciness of the Dijon mustard to make a simple glaze for a lean pork tenderloin. A splash of port wine contributes to a bold sauce punctuated by sweet and sour fresh cranberries and zesty crystalized ginger.

Ingredients - 

1 pork tenderloin approx. 1  - 1  1/2 lb 
Salt and fresh ground black pepper
1 tablespoon unsalted butter
2 tablespoons pure maple syrup
1 tablespoon Dijon mustard
2 cups fresh cranberries
1/2 cup tawny, ruby port or Marsala wine
1/2 cup sugar
3 tablespoons crystallized ginger - minced

How - 

Preheat oven to 385 F


Season the tenderloin with salt and pepper.

In a large oven proof frying pan over medium high heat, melt the butter. Add the pork and cook turning occasionally until browned on all sides, about 5 - 8 minutes. Remove rom heat.


For the tenderloin glaze - 


In a small bowl, stir together the maple syrup and the mustard. Spread about half of the sauce on the tenderloin. Put the pan in the preheated oven for 10 minutes. Take out and spread the rest of the sauce over the meat and return to the oven for 10 - 15 more minutes or until the internal temp reaches 165 F.

For the Cranberry relish -

Fresh cranberries

Crystalized ginger

Marsala wine

While the pork is roasting, cook the cranberries, the wine, the sugar and the minced ginger in a heavy bottomed sauce pot. We decided to use Marsala wine, but Port would work just as well. Bring to a boil over medium high heat, stirring often. Reduce the heat to medium and continue to cook uncovered stirring regularly until the berries have popped and the juices are syrupy, about 10 minutes. Then remove from heat. Serve this warm with the pork. This stuff is amazing. You will want to make this at Thanksgiving for sure. It would also be good on chicken or beside fish.

Finished cranberry relish

When the tenderloin is ready, transfer to a carving board and let rest for 5 minutes. Then cut the meat crosswise into 1/2 inch pieces.
The finished roasted tenderloin with maple-mustard glaze

Divide the slices evenly and fan out on the plates. Spoon some of the warm cranberry sauce next to the slices.

We roasted mixed color baby potatoes seasoned with rosemary as a side.